
Have you ever imagined effortlessly converting your backyard into a haven of craftsmanship and comfort with a simple upgrade? Enter the 30×64 garage kit: a perfect blend of functionality and style, transforming your British Columbia property into a personalized workspace or storage paradise. But where do you start? This guide will walk you through everything you need to know about designing your dream structure with a 30×64 garage kit in British Columbia. Let’s dive in!
Why Choose a 30×64 Garage Kit in British Columbia?
When it comes to enhancing the usability and aesthetics of your property, few options offer the versatility of steel garage kits. Here’s why:
Durability Meets Design
British Columbia’s climate can be unpredictable, with its fair share of rain, snow, and wind. A steel garage has the sturdy construction that stands up to these elements, ensuring longevity and minimal maintenance. It’s not just a practical choice; it’s an investment in quality and resilience.
Customizable Options
One of the most compelling reasons to choose a steel garage kit in British Columbia is the level of customization it offers. With a range of layouts, finishes, and additional elements (like windows and ventilation), you can design a garage that suits your specific needs, whether it’s for car storage, a workshop, or additional living space.
Key Features of the 30×64 Garage Kit
Understanding what makes a 30×64 garage kit unique can help you make the most out of your investment.
Spacious Interior
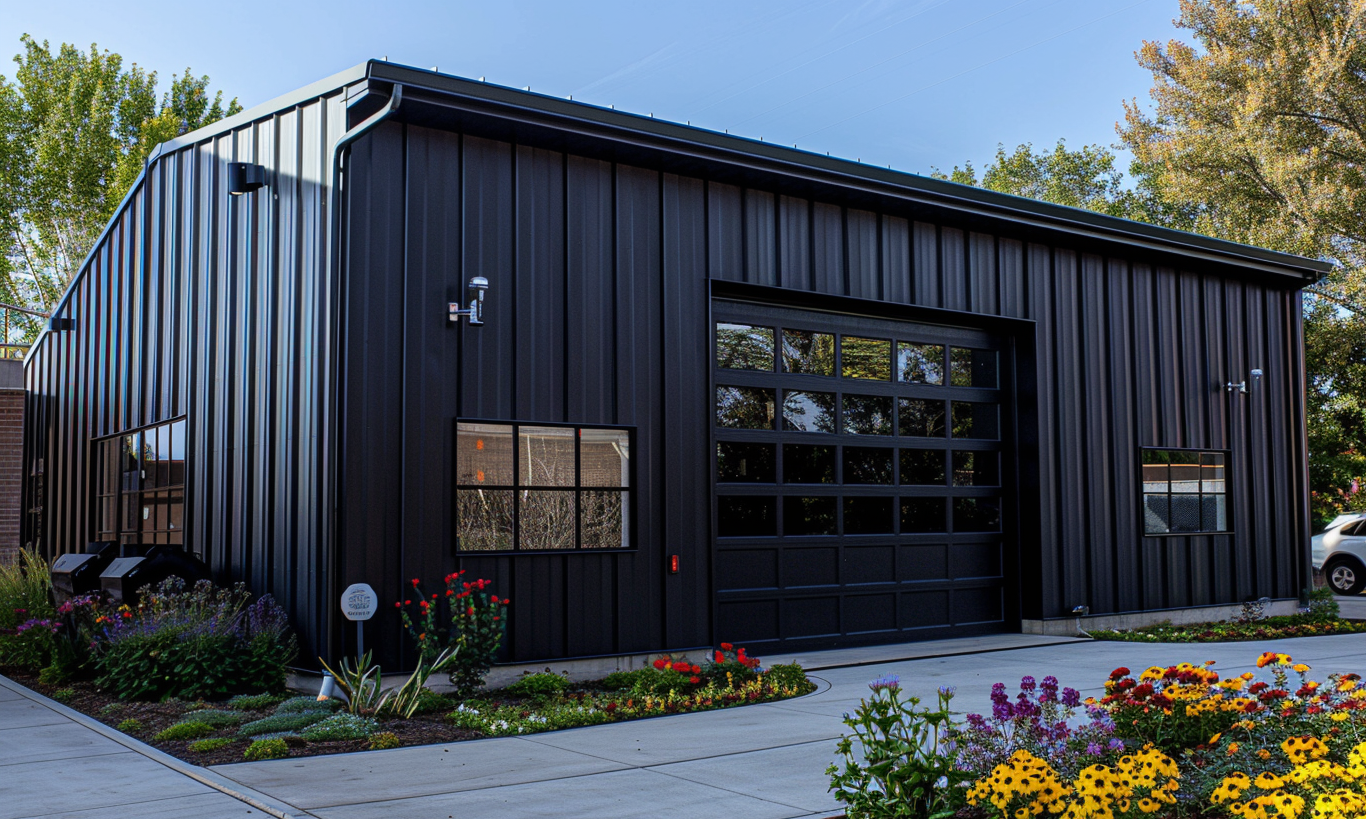
Measuring at 30 feet wide and 64 feet long, this garage kit provides ample space for multiple vehicles, a spacious workshop, or both. The possibilities are endless, from woodworking projects to storing recreational vehicles.
Ease of Assembly
These kits come with pre-cut and pre-drilled components, making the assembly process straightforward. With the right guidance, even DIY enthusiasts can erect their dream garage without excessive hassle.
Cost-Effective
Building a traditional garage from scratch can be expensive and time-consuming. A prefabricated garage kit is a more budget-friendly option, offering considerable savings on labor and materials while providing the same, if not better, quality and durability.
Key Considerations Before Installation
Before you get too excited and start the installation, there are several factors you should consider to ensure a smooth process.
Permits and Codes
Like any construction project, your new garage must adhere to local building codes. Make sure to consult the BC Building Code for guidance. Obtaining the necessary permits can prevent legal complications down the line.
Location
Choosing the right location on your property is crucial. Ensure the ground is level and capable of supporting the structure. Proximity to existing electrical and plumbing systems can also be a deciding factor.
Climate Considerations
Consider the typical weather patterns in your region. This could influence decisions like additional insulation or reinforcing the structure against heavy snow loads.
Step-by-Step Guide to Setting Up Your 30×64 Garage Kit
Ready to get started? Here’s a step-by-step guide to making your dream garage a reality.
Step 1: Plan and Design
Before ordering your kit, take the time to thoroughly plan your garage layout. Consider things like vehicle storage, workspaces, and any additional rooms or loft spaces you might want to include.
Step 2: Obtain Permits
As mentioned earlier, obtaining the necessary permits is crucial. Be sure to factor in time for this process, as it can take several weeks depending on your local government’s requirements.
Step 3: Prepare the Site
Clear the designated area of any debris and level the ground. For added stability, consider laying a concrete foundation to anchor your steel garage kit securely.
Step 4: Assemble the Frame
Follow the included instructions carefully to assemble the frame of your garage. Use galvanized steel bolts and nuts for added durability.
Step 5: Install Panels and Roof
Once the frame is erect, begin installing the wall panels and the roof. Ensure they are securely fastened to prevent leaks or other structural issues.
Step 6: Final Touches
Add any desired finishing touches, such as insulation, drywall, and external trim, to make your garage not just functional but also visually appealing.
Optimizing Your 30×64 Garage Kit
After your garage is assembled, you might wonder how to make the most out of the available space. Here are some tips:
Customized Storage Solutions
Install shelving or cabinets to keep your tools and supplies organized. Use overhead storage for items you use less frequently.
Optimize Lighting
Good lighting is essential, especially if you plan to use your garage as a workshop. Consider installing LED lights for bright, energy-efficient illumination.
Ventilation and Climate Control
Proper ventilation can prevent the build-up of moisture and improve air quality. Depending on your needs, you might also want to install a heating or cooling system to make your garage comfortable year-round.
Flooring Options
Seal your concrete floor to protect against spills and stains. For added comfort and durability, consider installing rubber mats or epoxy flooring.
Why British Columbia is Perfect for a 30×64 Garage Kit
British Columbia’s diverse landscape and distinct seasons make a 30×64 garage kit an ideal choice for residents. Whether you’re dealing with the wet conditions of the coast or the snowy winters of the interior, a steel garage kit is designed to stand up to the elements.
Additionally, the growing trend towards eco-friendly building solutions finds a compatible partner in steel constructions. Steel can be recycled indefinitely, making it a sustainable choice for eco-conscious homeowners.
Comparative Insight
If you’re considering options beyond British Columbia, check out our guide on designing the same garage in other provinces. For example, a 30×64 garage kit in Manitoba